Install Microsoft Office

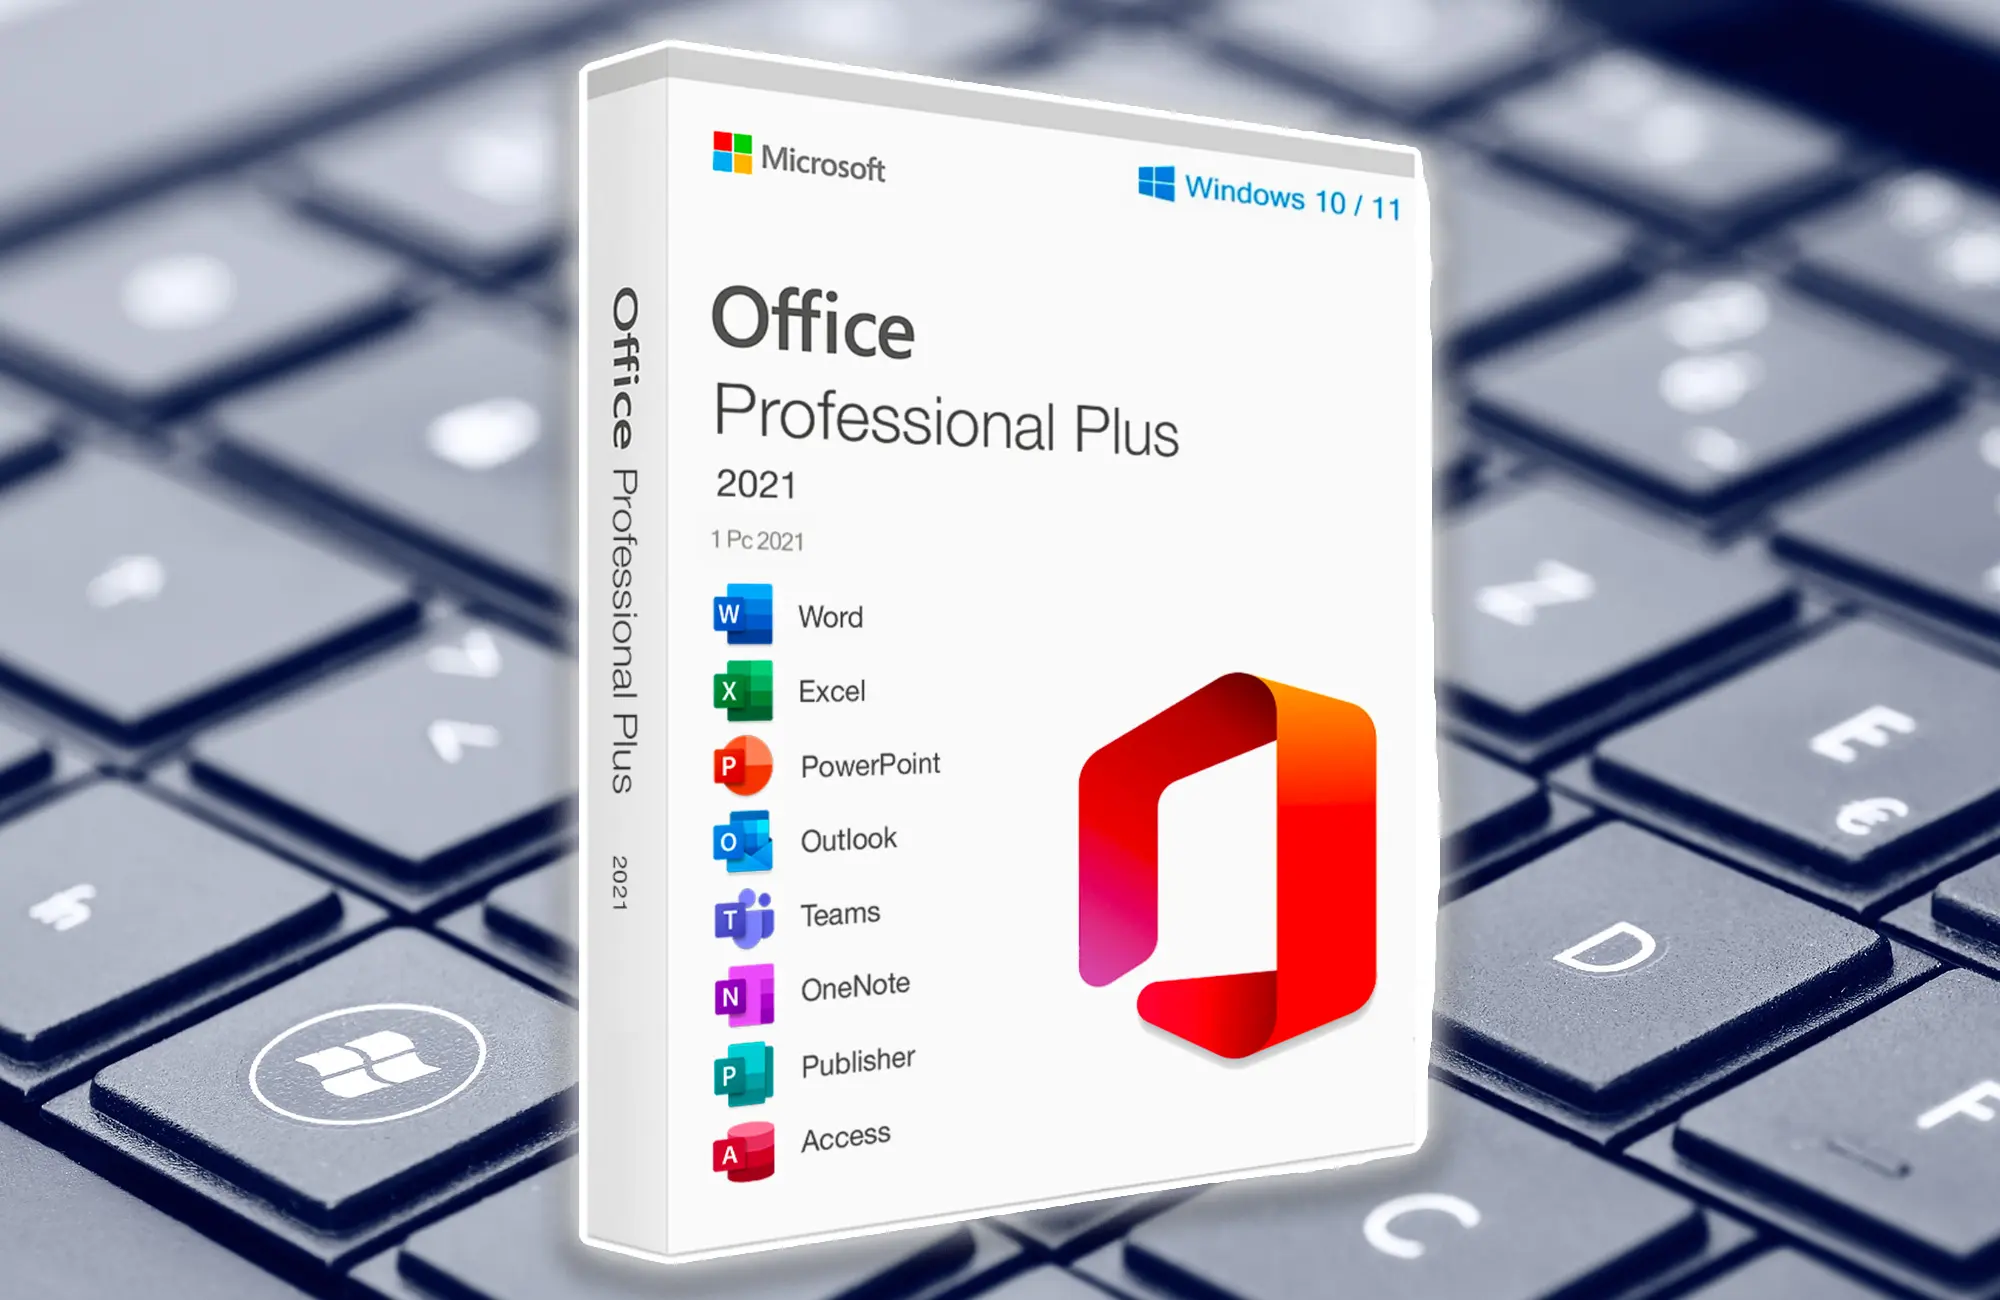
Step 1: Obtain Microsoft Office 2023
1. Purchase a valid Microsoft Office 2023 license or subscription from an authorized retailer or the Microsoft Store.

Step 2: Download Installation Files
1. Log in to your Microsoft account associated with your Office purchase.
2. Visit the Microsoft Office website or your account page to access the download link for Office 2023.

Step 3: Install Microsoft Office 2023
1. Locate the downloaded installation file (usually a .exe file) on your computer.
2. Double-click the file to start the installation process.

Step 4: Enter Product Key
1. During installation, you may be prompted to enter the product key associated with your Office 2023 purchase. Enter the key when prompted.

Step 5: Choose Installation Type
1. Select the installation type: “Recommended” (default settings) or “Customize” (choose specific Office components to install).

Step 6: Accept License Agreement
1. Read and accept the Microsoft Software License Terms.

Step 7: Install Office
1. Click the “Install” button to begin the installation process. The installer will guide you through the setup.

Step 8: Sign In or Create Microsoft Account
1. Sign in with your Microsoft account linked to your Office subscription or license. If you don’t have an account, you can create one.

Step 9: Choose Office Theme
1. Choose a theme for your Office applications (e.g., colorful, dark gray, white).

Step 10: Finish Installation
1. Once the installation is complete, you’ll receive a confirmation message. You can now start using Microsoft Office 2023.

Step 11: Activate Office
1. Open any Office application (e.g., Word, Excel).
2. Sign in with your Microsoft account if prompted.
3. Follow the on-screen prompts to activate your Office installation.

Step 12: Update and Customize
1. After activation, Office will check for updates. Make sure to install any available updates to ensure you have the latest features and security patches.
2. Customize your Office settings and preferences according to your needs.

Step 13: Enjoy Microsoft Office 2023
1. You’re now ready to use Microsoft Office 2023 to create, edit, and manage your documents, spreadsheets, presentations, and more.

Please note that these steps provide a general guide to installing Microsoft Office 2023. The exact steps and options may vary slightly based on your specific setup and the version of Office you are installing.
Getting ready for the Windows 11

the steps to install Windows 11:

Step 1: Check System Requirements
Before you begin, make sure your PC meets the minimum system requirements for Windows 11, including a compatible processor, sufficient RAM, and supported graphics.

Step 2: Backup Your Data
It’s always a good idea to back up your important data before making any major changes to your system.

Step 3: Download Windows 11
Visit the official Microsoft website and download the Windows 11 installation media or ISO file.

Step 4: Create Installation Media (Optional)
If you downloaded an ISO file, you can create a bootable USB drive using tools like the Media Creation Tool. This step is optional if you already have the installation media.

Step 5: Boot from Installation Media
Insert the bootable USB drive or DVD with the Windows 11 installation media into your PC. Restart your computer and boot from the installation media.

Step 6: Install Windows 11
Follow the on-screen instructions to start the Windows 11 installation process. You’ll need to choose your language, time format, keyboard input, and click “Next.”

Step 7: Enter Product Key (If Required)
Enter the product key if prompted. If your PC came with Windows pre-installed, the product key might be embedded in the system, and you may not need to enter it.

Step 8: Choose Installation Type
Select the type of installation you want – “Upgrade” if you’re upgrading from a previous version of Windows or “Custom” if you’re performing a clean installation.

Step 9: Select Partition and Install
If you chose a custom installation, select the partition where you want to install Windows 11. You can also format or create new partitions as needed. Then, proceed with the installation.

Step 10: Set Up Your Account
Follow the prompts to set up your user account, including creating a password and setting privacy preferences.

Step 11: Personalize Settings
Customize your Windows 11 settings, including colors, themes, and other personalization options.

Step 12: Complete Setup
After the initial setup, Windows 11 will finalize your settings and configurations.

Step 13: Install Drivers and Updates
After the installation is complete, make sure to install the latest drivers for your hardware and run Windows Update to ensure you have the latest updates and security patches.

Step 14: Restore Data
If you backed up your data earlier, you can now restore your files and programs.

Step 15: Enjoy Windows 11
Your installation is complete. Enjoy using Windows 11 with its new features and improvements!

Please note that these steps are provided as a general guide. The exact steps may vary based on your specific hardware and setup.