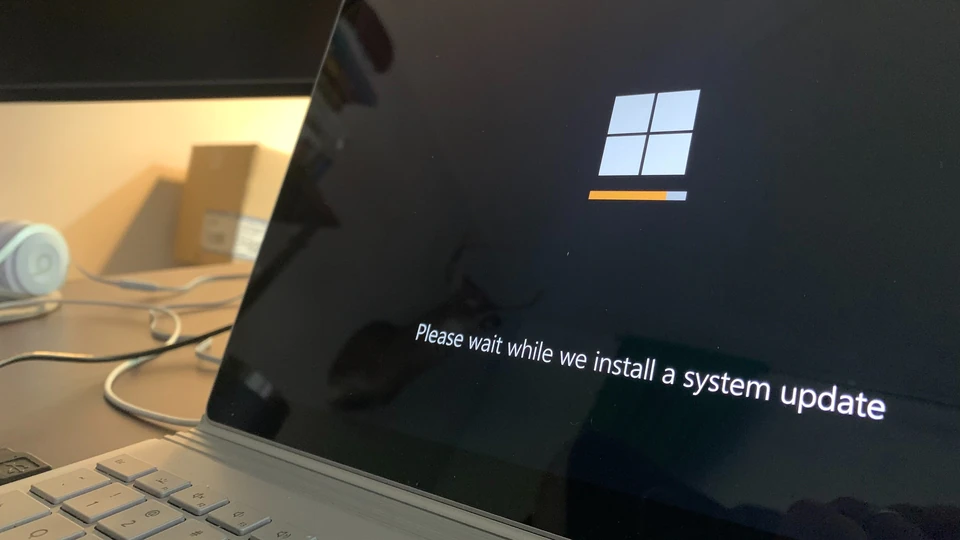
the steps to install Windows 11:
Step 1: Check System Requirements
Before you begin, make sure your PC meets the minimum system requirements for Windows 11, including a compatible processor, sufficient RAM, and supported graphics.
Step 2: Backup Your Data
It’s always a good idea to back up your important data before making any major changes to your system.
Step 3: Download Windows 11
Visit the official Microsoft website and download the Windows 11 installation media or ISO file.
Step 4: Create Installation Media (Optional)
If you downloaded an ISO file, you can create a bootable USB drive using tools like the Media Creation Tool. This step is optional if you already have the installation media.
Step 5: Boot from Installation Media
Insert the bootable USB drive or DVD with the Windows 11 installation media into your PC. Restart your computer and boot from the installation media.
Step 6: Install Windows 11
Follow the on-screen instructions to start the Windows 11 installation process. You’ll need to choose your language, time format, keyboard input, and click “Next.”
Step 7: Enter Product Key (If Required)
Enter the product key if prompted. If your PC came with Windows pre-installed, the product key might be embedded in the system, and you may not need to enter it.
Step 8: Choose Installation Type
Select the type of installation you want – “Upgrade” if you’re upgrading from a previous version of Windows or “Custom” if you’re performing a clean installation.
Step 9: Select Partition and Install
If you chose a custom installation, select the partition where you want to install Windows 11. You can also format or create new partitions as needed. Then, proceed with the installation.
Step 10: Set Up Your Account
Follow the prompts to set up your user account, including creating a password and setting privacy preferences.
Step 11: Personalize Settings
Customize your Windows 11 settings, including colors, themes, and other personalization options.
Step 12: Complete Setup
After the initial setup, Windows 11 will finalize your settings and configurations.
Step 13: Install Drivers and Updates
After the installation is complete, make sure to install the latest drivers for your hardware and run Windows Update to ensure you have the latest updates and security patches.
Step 14: Restore Data
If you backed up your data earlier, you can now restore your files and programs.
Step 15: Enjoy Windows 11
Your installation is complete. Enjoy using Windows 11 with its new features and improvements!
Please note that these steps are provided as a general guide. The exact steps may vary based on your specific hardware and setup.


No comment yet, add your voice below!