Content Management System (CMS)

There are many methods and programming languages available for website design.

If you intend to design a website, you’ve probably heard of the Content Management System or CMS.

Now, the question is, what is a Content Management System (CMS)?

CMS stands for Content Management System. It’s a system that allows you to manage the content of your website.

Dynamic or dynamic websites require a CMS because the content on these websites is constantly changing or new content is being uploaded.

By using various content management systems, you can easily make changes to your website’s content without the need for programming knowledge or writing code.

Types of Content Management Systems:

 Open Source:

Open Source Content Management Systems are free software, and their code is accessible and modifiable. In normal circumstances, you don’t need this feature, but for large websites that require customization, you can use this software. The positive aspect of open-source software is that users and experts from around the world have access to it, leading to the continuous development of more extensions.

Shared Content Management System or Software As A Service (SAAS):

Shared content management systems are a type of CMS where users do not have access to its code and must purchase a shared content management system from service providers on a monthly or yearly basis. Some of the notable shared content management systems include WordPress, Squarespace, and Wix.

Types of Open Source Content Management Systems:

1.WordPress:

Approximately 60 million websites worldwide are designed using WordPress.

What do you think could be the reason for the popularity of this content production system?

WordPress initially started its activities as a blogging platform and gradually expanded its scope.

To the point that it is now recognized as the most popular CMS available, claiming a 40% market share.

The most important features of this content management system include:

  • Quick and easy installation
  • Low file size
  • Free to use
  • Numerous plugins available
  • Compatibility and optimization for search engines
  • User-friendly interface

If you want to create a content-focused blog or news website, WordPress is your best choice.

2. Joomla:

Joomla was introduced in 2005, and it is considered a strong competitor to WordPress.

This system is suitable for content-based websites as well as large e-commerce websites. Some of its features include:

– Quick and easy installation
– Free to use
– Over 6,000 available extensions

Joomla is suitable for all types of online businesses, both small and large. It is programmed in the PHP programming language and stores website content in databases such as MySQL, MySQLi, or PostgerSQL.

One of Joomla’s notable advantages compared to WordPress is its well-organized and precise user section. User registration on Joomla is done through forms on the website, and user management is handled through the “Users” section in the admin panel.

3. Drupal:

Drupal is one of the types of content management systems that help you add articles, news, sales listings, and more to your website without the need for technical knowledge.

Some of the positive features of Drupal include:

– Support for the Persian language
– Ability to create any type of website
– Open source and free software
– Access to various templates
– Access to various modules
– High security

4. PHP Nuke:

Php Nuke is an old CMS system that was more popular before WordPress and Joomla.

In recent years, Php Nuke has fallen out of competition with other CMS systems due to issues it had with speed and security, and it is not widely recognized among users anymore

5. Magento:

The structure of Magento is such that you need training and learning to work with it, and even navigating its admin interface can be somewhat challenging.

Another problem with this CMS system is the lack of information and documentation provided by its developers, which has reduced its usage among users.

6. PrestaShop:

Without a doubt, PrestaShop is one of the most powerful and professional e-commerce platforms in the world, offering extensive capabilities.

Key features of PrestaShop include:

  • – Quick and free installation
  • Compatibility with multilingual stores
  • Compatibility with different currency units
  • Powerful management panel
  • High flexibility and scalability
  • Accounting, inventory management, and customer management systems
  • Optimized structure for search engines

7. OpenCart:

OpenCart is exclusively designed for online stores.

Key features of this system include:

  • Numerous extensions
  • Strong support and community forums
  • Simple and organized admin panel

As we have discussed in this article, there are various types of content management systems, and as you can see, WordPress ranks highly among CMS systems due to its features and high loading speed. Nevertheless, it is advisable to consult with an expert in the field before designing a website to avoid the need for redesigning.


Purpose of Website Design

What are the Benefits of Website Design and Why Should You Have a Website?

In August 2017, it was 26 years since the first web page entered the online world. Believing this fact is quite challenging as the internet has grown remarkably in a peculiar way since that year.

It seems that this growth will continue indefinitely. With more than a billion registered domains, the trend is on the rise.

However, another reality is that out of the millions of websites and domains registered, only about one-fourth of them are truly active. The rest are considered “parked” domains with no activity. Among these 250 million active websites, only a limited number receive daily traffic and visits to their content.

Therefore, there is still a reasonable space for new websites seeking to be active on the internet.

Many small businesses have yet to utilize the internet space to develop their businesses. In fact, according to research conducted in the United States, 49% of small businesses don’t have a website. This statistic is likely much higher in Iran.

The first reason your company and business need a website, even if you have fewer than 5 employees, is that there is no other place where you can find so many potential customers in such a short time.

For example, research shows that Canadians spend about 36.3 hours per month searching on the internet (a little over an hour a day), while this number is approximately 35.2 hours among American users.

It’s interesting to note that although precise statistics are not available, these figures in Iran are much higher. In some studies, the average presence of Iranian users in the virtual space (websites, searches, and social networks) is estimated at 5 to 9 hours per day, which is remarkably high.

With more than 40 million internet users in Iran, this is a very high number. Therefore, due to its inherent characteristics, the virtual world has a significant potential for marketing. According to almost all marketing experts, the virtual space is considered the largest and most powerful platform for increasing sales and marketing in all of human history.

All of this only scratches the surface of the power and vastness of the virtual world. If you are a small or medium-sized business owner and still wonder about the benefits of having a website, consider these six clear reasons:

Today, people use the internet instead of a phone book.

The fact is that nowadays, people find most of their needed and vital information on the internet. Potential customers decide which doctor or clinic to visit, which service company to use, and where and how to purchase their desired products through mobile phones and internet searches. Neglecting such great potential goes against all marketing principles and methods.

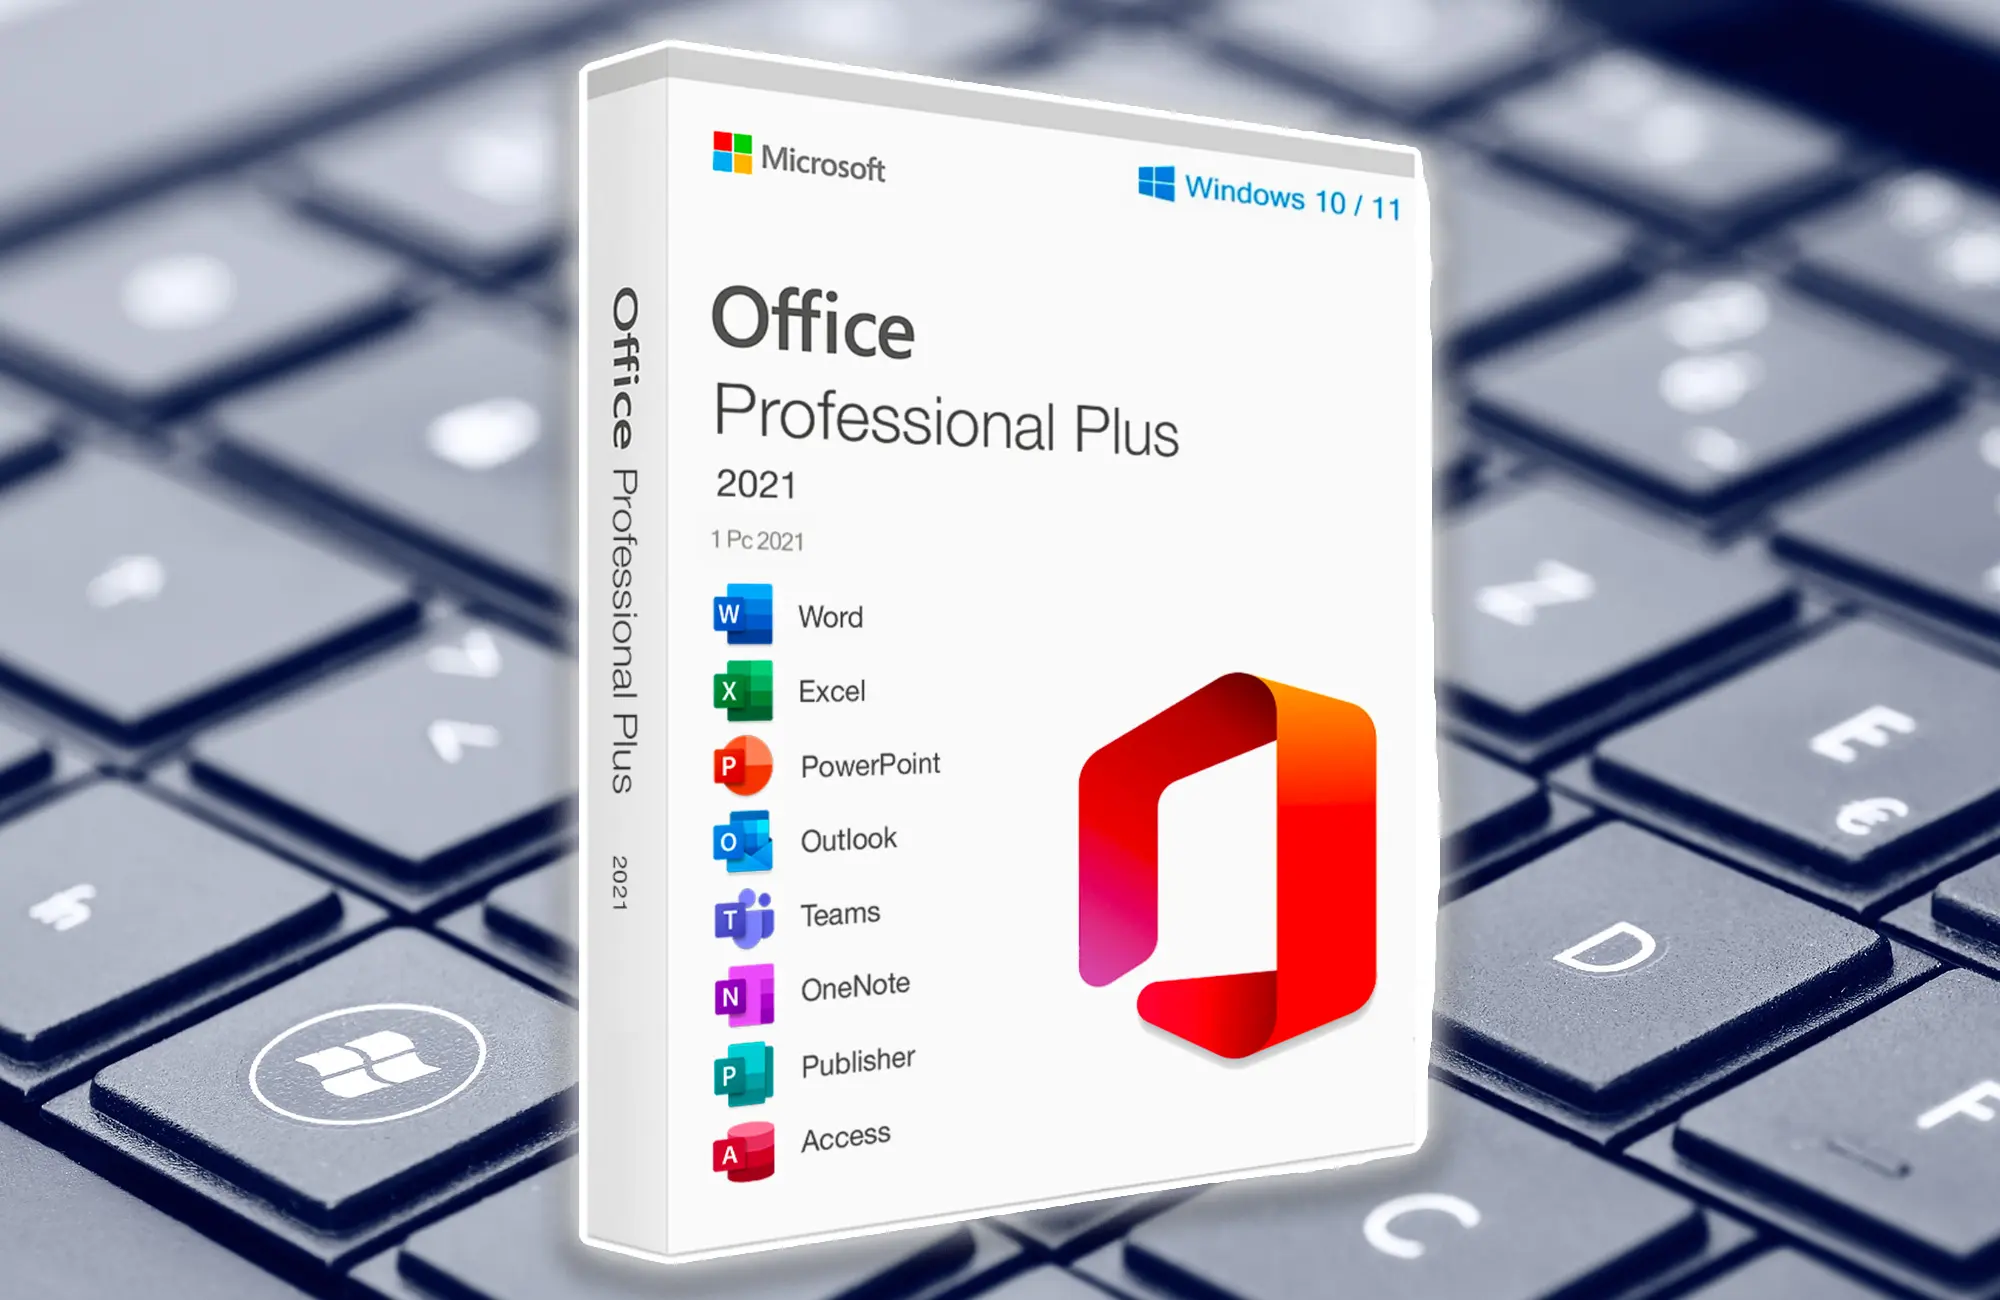
Install Microsoft Office

Step 1: Obtain Microsoft Office 2023
1. Purchase a valid Microsoft Office 2023 license or subscription from an authorized retailer or the Microsoft Store.

Step 2: Download Installation Files
1. Log in to your Microsoft account associated with your Office purchase.
2. Visit the Microsoft Office website or your account page to access the download link for Office 2023.

Step 3: Install Microsoft Office 2023
1. Locate the downloaded installation file (usually a .exe file) on your computer.
2. Double-click the file to start the installation process.

Step 4: Enter Product Key
1. During installation, you may be prompted to enter the product key associated with your Office 2023 purchase. Enter the key when prompted.

Step 5: Choose Installation Type
1. Select the installation type: “Recommended” (default settings) or “Customize” (choose specific Office components to install).

Step 6: Accept License Agreement
1. Read and accept the Microsoft Software License Terms.

Step 7: Install Office
1. Click the “Install” button to begin the installation process. The installer will guide you through the setup.

Step 8: Sign In or Create Microsoft Account
1. Sign in with your Microsoft account linked to your Office subscription or license. If you don’t have an account, you can create one.

Step 9: Choose Office Theme
1. Choose a theme for your Office applications (e.g., colorful, dark gray, white).

Step 10: Finish Installation
1. Once the installation is complete, you’ll receive a confirmation message. You can now start using Microsoft Office 2023.

Step 11: Activate Office
1. Open any Office application (e.g., Word, Excel).
2. Sign in with your Microsoft account if prompted.
3. Follow the on-screen prompts to activate your Office installation.

Step 12: Update and Customize
1. After activation, Office will check for updates. Make sure to install any available updates to ensure you have the latest features and security patches.
2. Customize your Office settings and preferences according to your needs.

Step 13: Enjoy Microsoft Office 2023
1. You’re now ready to use Microsoft Office 2023 to create, edit, and manage your documents, spreadsheets, presentations, and more.

Please note that these steps provide a general guide to installing Microsoft Office 2023. The exact steps and options may vary slightly based on your specific setup and the version of Office you are installing.

Getting ready for the Windows 11

the steps to install Windows 11:

Step 1: Check System Requirements
Before you begin, make sure your PC meets the minimum system requirements for Windows 11, including a compatible processor, sufficient RAM, and supported graphics.

Step 2: Backup Your Data
It’s always a good idea to back up your important data before making any major changes to your system.

Step 3: Download Windows 11
Visit the official Microsoft website and download the Windows 11 installation media or ISO file.

Step 4: Create Installation Media (Optional)
If you downloaded an ISO file, you can create a bootable USB drive using tools like the Media Creation Tool. This step is optional if you already have the installation media.

Step 5: Boot from Installation Media
Insert the bootable USB drive or DVD with the Windows 11 installation media into your PC. Restart your computer and boot from the installation media.

Step 6: Install Windows 11
Follow the on-screen instructions to start the Windows 11 installation process. You’ll need to choose your language, time format, keyboard input, and click “Next.”

Step 7: Enter Product Key (If Required)
Enter the product key if prompted. If your PC came with Windows pre-installed, the product key might be embedded in the system, and you may not need to enter it.

Step 8: Choose Installation Type
Select the type of installation you want – “Upgrade” if you’re upgrading from a previous version of Windows or “Custom” if you’re performing a clean installation.

Step 9: Select Partition and Install
If you chose a custom installation, select the partition where you want to install Windows 11. You can also format or create new partitions as needed. Then, proceed with the installation.

Step 10: Set Up Your Account
Follow the prompts to set up your user account, including creating a password and setting privacy preferences.

Step 11: Personalize Settings
Customize your Windows 11 settings, including colors, themes, and other personalization options.

Step 12: Complete Setup
After the initial setup, Windows 11 will finalize your settings and configurations.

Step 13: Install Drivers and Updates
After the installation is complete, make sure to install the latest drivers for your hardware and run Windows Update to ensure you have the latest updates and security patches.

Step 14: Restore Data
If you backed up your data earlier, you can now restore your files and programs.

Step 15: Enjoy Windows 11
Your installation is complete. Enjoy using Windows 11 with its new features and improvements!

Please note that these steps are provided as a general guide. The exact steps may vary based on your specific hardware and setup.